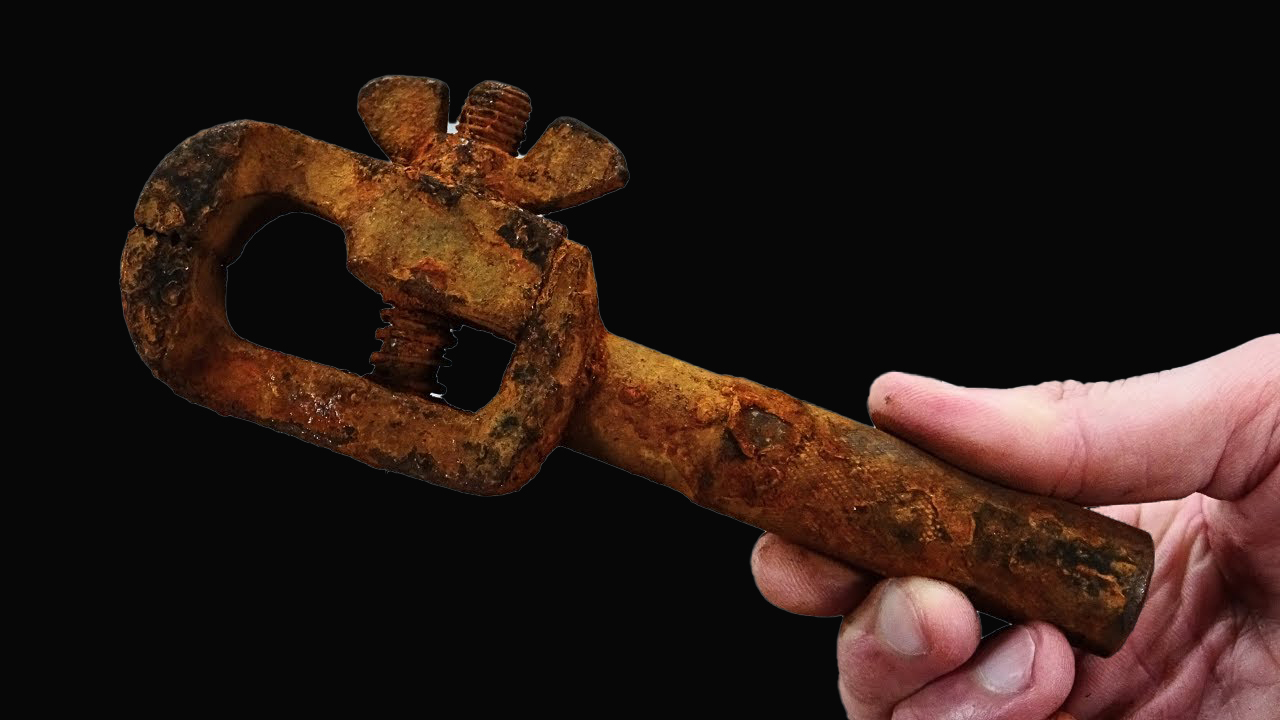
Restoring an old hand vice saved from scrap is a great project, and it will likely involve rust removal, cleaning, and functional restoration. Here’s a detailed step-by-step guide to restoring your old hand vice:
Materials Needed:
- Penetrating oil (e.g., WD-40)
- White vinegar or lemon juice
- Baking soda
- Phosphoric acid (for heavy rust)
- Steel wool or wire brush
- Sandpaper (medium and fine grit)
- Lubricant (grease or oil for the vice’s moving parts)
- Metal polish
- Protective gloves and goggles
- Rust-inhibiting primer (optional)
- Clear coat or spray paint (optional)
Step-by-Step Restoration Process:
1. Disassemble the Vice
- If possible, disassemble the hand vice. Remove the jaws, screws, and any other detachable parts. This will make it easier to clean and remove rust. Take photos to help you remember how to reassemble the parts.
2. Clean the Parts
- Wipe down the vice with a damp cloth to remove any surface dirt and grime. Apply penetrating oil like WD-40 to any moving parts or screws that are seized up or difficult to turn. Let it sit for a while to loosen any stuck components.
3. Soak in Vinegar or Lemon Juice
- Submerge the rusted metal parts in white vinegar or apply lemon juice to loosen the rust. Let them soak for several hours or overnight for heavy rust. If the vice is too large to soak, wrap the rusted parts in a vinegar-soaked cloth.
4. Scrub Away the Rust
- After soaking, scrub the rusted areas with steel wool or a wire brush. Use medium pressure to remove the rust without scratching the surface too much. For intricate or hard-to-reach areas, use a smaller brush or toothbrush.
5. Use Baking Soda Paste
- For light rust or additional cleaning, apply a baking soda and water paste to the surface. Let it sit for a few minutes and scrub again.
6. Apply Phosphoric Acid for Heavy Rust
- For deeply rusted areas, apply a phosphoric acid-based rust remover. This will convert the rust into a stable iron phosphate layer. Follow the manufacturer’s instructions and scrub again after the rust changes color.
7. Sand the Metal
- Use medium-grit sandpaper (around 120 grit) to smooth out any rough or rusted patches. Finish with fine-grit sandpaper (around 220 grit) to polish the surface and smooth out any scratches or marks.
8. Clean and Dry the Parts
- Wipe all parts down with a clean cloth and water to remove any dust or residue. Dry thoroughly to prevent rust from reforming.
9. Lubricate Moving Parts
- After cleaning, apply grease or oil to all moving parts, such as the screw mechanism, to ensure the vice works smoothly. Lubricating these areas will prevent wear and future rust.
10. Polish the Metal
- Use a metal polish to bring a shine back to the vice and protect it from moisture. Apply with a soft cloth, then buff the surface.
11. Reassemble the Vice
- Carefully reassemble the vice, ensuring all components are properly lubricated and function smoothly.
12. Optional: Apply Rust Inhibitor or Paint
- If you want to prevent future rust, apply a rust-inhibiting primer to the metal and follow with a coat of clear lacquer or spray paint (if desired). This will protect the vice and give it a finished look.
13. Final Touches
- Test the vice to ensure everything is working properly. Make adjustments if necessary, and continue applying oil or lubricant periodically to maintain smooth operation.
Additional Tips:
- Deep Rust Pits: If there are deep rust pits, you can fill them with metal filler and sand smooth if desired, though it may affect the appearance of an antique or vintage piece.
- Antique Look: If you prefer to keep the vice’s patina, focus more on rust removal and functional restoration rather than over-polishing the metal.
- Preventing Future Rust: Store the vice in a dry, moisture-free area to prevent future rusting, and occasionally apply a light coating of oil to protect it.
Restoring a hand vice is a satisfying process, bringing it back to life while preserving its usefulness and history!