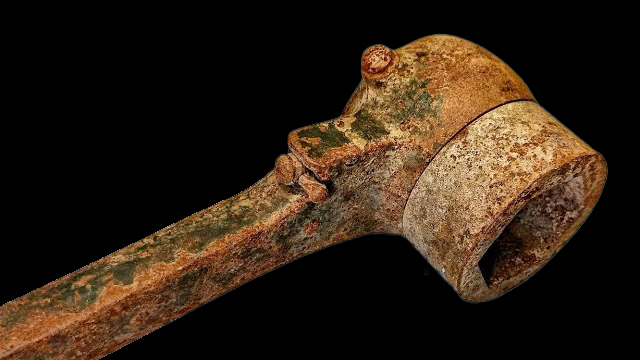
step-by-step guide on how to restore an 80-year-old antique reversible hex ratchet:
Step-by-Step Restoration Process:
1. Preparation and Safety:
- Safety Gear: Wear protective gloves, goggles, and a mask to protect yourself from rust, dust, and chemicals.
- Tools Needed: Penetrating oil (e.g., WD-40), wire brushes, steel wool, fine sandpaper (400-1000 grit), degreaser, metal polish, rust converter, and lubricating oil for reassembly.
2. Disassembly:
- Tools: Use screwdrivers, wrenches, or a socket set to carefully take apart the ratchet. Be cautious with small springs or moving parts that can be delicate.
- Tip: Take photos during disassembly to track the positioning of small parts for reassembly later.
3. Remove Rust and Old Grease:
- Wire Brush: Use a wire brush to remove loose rust from the ratchet’s exterior. Pay extra attention to the gear and internal components that may have become rusty over time.
- Penetrating Oil: Spray WD-40 or another penetrating oil on rusty areas and let it soak for 10-15 minutes to break down tough corrosion.
- Steel Wool/Sandpaper: For tougher spots, use steel wool or fine-grit sandpaper (400-1000 grit) to scrub away the rust and smooth out the metal surface. Be gentle to avoid damaging the ratchet’s functionality.
4. Clean the Parts:
- Degreaser: Clean all components with a degreaser (like Simple Green or Super Clean) to remove oil, grime, and old grease. Use a soft brush or toothbrush to reach small crevices.
- Rinse and Dry: Rinse off the degreaser with water and dry all parts thoroughly with a lint-free cloth.
5. Treat and Prevent Rust:
- Rust Converter: If there are any remaining rust spots, apply a rust converter (such as Rust-Oleum Rust Reformer) to neutralize the rust and prevent it from spreading.
- Application: Follow the product instructions and allow it to dry completely.
6. Polish and Restore the Finish:
- Metal Polish: Apply a metal polish (e.g., Brasso) to restore the shine of the metal. Buff each piece with a soft cloth, working in small circular motions until you achieve a smooth, polished finish.
- Optional Clear Coat: To protect the restored surface, you can apply a thin layer of clear lacquer or enamel, such as Rust-Oleum Clear Enamel, to prevent future rusting.
7. Re-lubricate Moving Parts:
- Lubricating Oil: Lubricate the ratchet’s moving parts (gears, springs, etc.) with a light machine oil (e.g., 3-IN-ONE oil or silicone-based lubricants). This will ensure smooth operation and extend the life of the tool.
- Apply Grease: For gears, consider applying a small amount of multi-purpose grease for enhanced durability.
8. Reassemble the Ratchet:
- Using the photos taken earlier, carefully reassemble the ratchet. Ensure all components are correctly placed, and the mechanism is properly aligned.
- Tighten any screws, nuts, or bolts securely without over-tightening, as this could damage the old metal.
9. Final Test:
- Test the ratchet to ensure it works smoothly and reverses properly. If there is any stiffness or malfunction, disassemble it again and check for misalignment or improper lubrication.