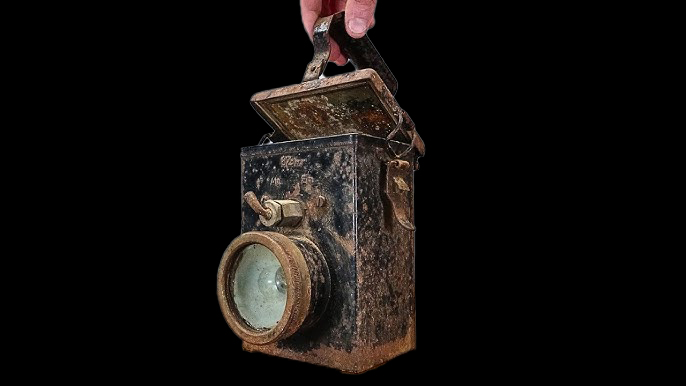
step-by-step guide on how to restore the brass plating on a rare 1945 German mining lamp:
Step-by-Step Guide for Brass Plating Restoration:
1. Safety Precautions:
- Safety Gear: Wear gloves, safety glasses, and a mask to protect yourself from harmful chemicals and dust.
- Tools Needed: Brass plating solution, wire brush, fine steel wool, fine-grit sandpaper (600-1000 grit), degreaser, metal polish, a DC power supply (for electroplating), brass anode, and protective lacquer.
2. Inspect and Disassemble (if needed):
- Assessment: Check the lamp for rust, dirt, or tarnish. Identify areas where the brass plating is damaged or worn out.
- Disassembly: If the lamp has removable parts, carefully disassemble it to ensure all areas can be cleaned and plated evenly.
3. Clean and Remove Rust:
- Wire Brush/Steel Wool: Use a wire brush or fine steel wool to remove loose rust, grime, and tarnish from the surface. Focus on stubborn areas where corrosion has taken hold.
- Sandpaper: Use 600-1000 grit sandpaper to smooth out the surface, being careful to avoid scratching the brass or base metal beneath.
4. Degrease the Lamp:
- Degreaser: Apply a degreaser (e.g., Simple Green or Super Clean) to remove any oils, grease, or remaining dirt.
- Brush and Rinse: Use a soft brush to scrub the lamp, then rinse with clean water and dry it thoroughly with a lint-free cloth.
5. Polish Existing Brass Areas:
- Brass Polish: If any brass plating remains, use a brass polish (e.g., Brasso or Wright’s Brass Polish) to restore its shine. Rub the polish in circular motions using a soft cloth until the brass looks bright and shiny.
6. Set Up for Brass Electroplating:
- Brass Plating Kit: You’ll need a brass electroplating kit, which includes:
- Brass Plating Solution: Available from Caswell Plating, Amazon, or Eastwood.
- Brass Anode: A piece of pure brass to act as the anode during the plating process.
- DC Power Supply: A 6-12V DC power supply to pass the current through the solution.
- Electrodes Setup:
- Cathode (Lamp): Attach the lamp to the negative terminal (cathode) of the DC power supply.
- Anode (Brass): Attach the brass anode to the positive terminal (anode).
7. Electroplating the Lamp:
- Submerge in Solution: Place the lamp and the brass anode in the brass plating solution, making sure they do not touch.
- Start the Power Supply: Turn on the power supply to initiate the electroplating process. The brass ions will begin to adhere to the surface of the lamp.
- Monitor the Process: Check periodically to ensure an even brass coating. The process can take 20-40 minutes, depending on the size of the lamp and the thickness of the brass layer desired.
8. Rinse and Final Polish:
- Rinse: Once the plating is complete, rinse the lamp with distilled water to remove any leftover plating solution.
- Polish: Use a brass polish to buff the newly plated areas for a bright finish. Use a soft cloth and polish the surface until it shines.
9. Apply a Protective Coating:
- Clear Lacquer or Enamel: To protect the new brass plating from tarnishing, apply a clear lacquer (such as Rust-Oleum Clear Enamel). This will seal the surface and prevent oxidation over time.
- Dry: Let the coating dry completely before handling the lamp.
10. Reassemble and Final Test:
- If you disassembled the lamp, carefully reassemble all the parts, ensuring they are properly aligned and functional.
Tools and Materials for Purchase (US Suppliers):
- Brass Plating Kit: Available from Caswell Plating, Amazon, or Eastwood.
- Brass Cleaner/Polish: Brasso or Wright’s Brass Polish.
- Degreaser: Simple Green or Super Clean.
- Power Supply: Available on Amazon (6-12V DC).
- Protective Lacquer: Rust-Oleum Clear Enamel.
By following these steps, your 1945 German mining lamp will have a beautiful, restored brass finish and be protected for years to come!