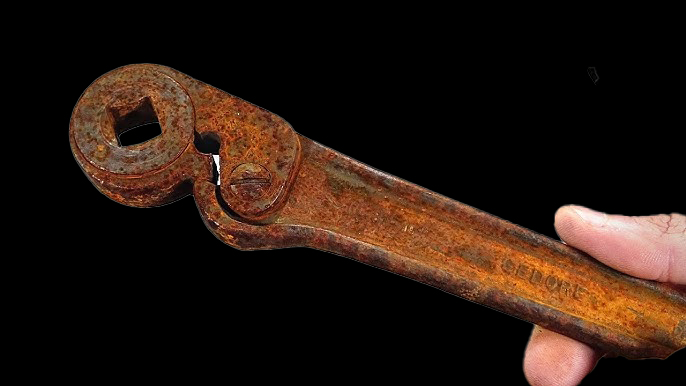
Step-by-Step Guide for ‘Gedore’ Friction Ratchet Restoration:
1. Safety and Preparation:
- Safety Gear: Wear protective gloves, goggles, and a mask to safeguard against rust, dust, and chemicals.
- Tools Needed: Penetrating oil (like WD-40), wire brushes, fine steel wool, fine-grit sandpaper (600-1000 grit), degreaser, metal polish, lubricating oil, screwdrivers, and small wrenches.
2. Disassembly:
- Take Apart the Ratchet: Use appropriate screwdrivers and wrenches to disassemble the ratchet. Be careful with delicate internal parts, and take photos for reference during reassembly.
- Check for Wear: Inspect the internal mechanisms, particularly the friction mechanism. If parts are damaged beyond repair, you may need to source replacements.
3. Remove Rust and Corrosion:
- Apply Penetrating Oil: Spray the rusted areas with WD-40 or another penetrating oil and let it soak for about 15-20 minutes to loosen the rust.
- Wire Brush and Steel Wool: Use a wire brush to scrub away loose rust, and follow up with fine steel wool to clean off deeper corrosion.
- Sandpaper: For tough areas or intricate parts, use fine-grit sandpaper (600-1000 grit) to carefully remove rust without damaging the metal.
4. Clean the Ratchet:
- Degreaser: Use a degreaser (e.g., Simple Green or Super Clean) to clean off grime, grease, and leftover rust particles. A soft brush or toothbrush can help with smaller areas.
- Rinse and Dry: After cleaning, rinse with water and dry thoroughly using a lint-free cloth to prevent future rusting.
5. Polish the Metal:
- Metal Polish: Apply a metal polish like Brasso to restore the shine of the friction ratchet’s steel components. Buff the parts with a soft cloth in small circular motions until they regain their original luster.
- Optional Clear Coat: You can apply a clear coat (like Rust-Oleum Clear Enamel) to protect the metal from future rust.
6. Restore the Friction Mechanism:
- Inspect the Friction Disc: The friction disc (or mechanism) must be in good condition for proper functionality. If it’s worn out, consider sourcing a replacement from vintage tool suppliers or try to repair it by smoothing it with fine sandpaper.
- Lubricate: Use a light machine oil (such as 3-IN-ONE Oil) to lubricate the friction mechanism and other moving parts. Apply the oil sparingly to avoid attracting dust.
7. Reassembly:
- Reassemble the Ratchet: Refer to the photos you took during disassembly. Put all parts back in place, ensuring the friction mechanism is aligned correctly and the ratchet moves smoothly.
- Tighten Screws: Be cautious when tightening screws and bolts to avoid over-tightening, which could damage the delicate metal.
8. Final Test and Adjustments:
- Test the Ratchet: Check that the ratchet works smoothly and reverses properly. If there’s any stiffness, apply more lubricant or adjust the friction mechanism as needed.
Tools and Products for Purchase (US Suppliers):
- Penetrating Oil: WD-40 (available at Home Depot, Lowe’s)
- Degreaser: Simple Green or Super Clean (available at Walmart, Amazon)
- Metal Polish: Brasso or Flitz Metal Polish
- Lubricating Oil: 3-IN-ONE Oil or silicone-based lubricant (available at Amazon, hardware stores)