Step-by-Step Guide for Restoring an Old Rusty Electric Table Fan:
1. Safety Precautions:
- Safety Gear: Wear gloves, goggles, and a mask to protect against rust, dust, and chemicals.
- Turn Off Power: Ensure the fan is unplugged, and all power is disconnected before starting.
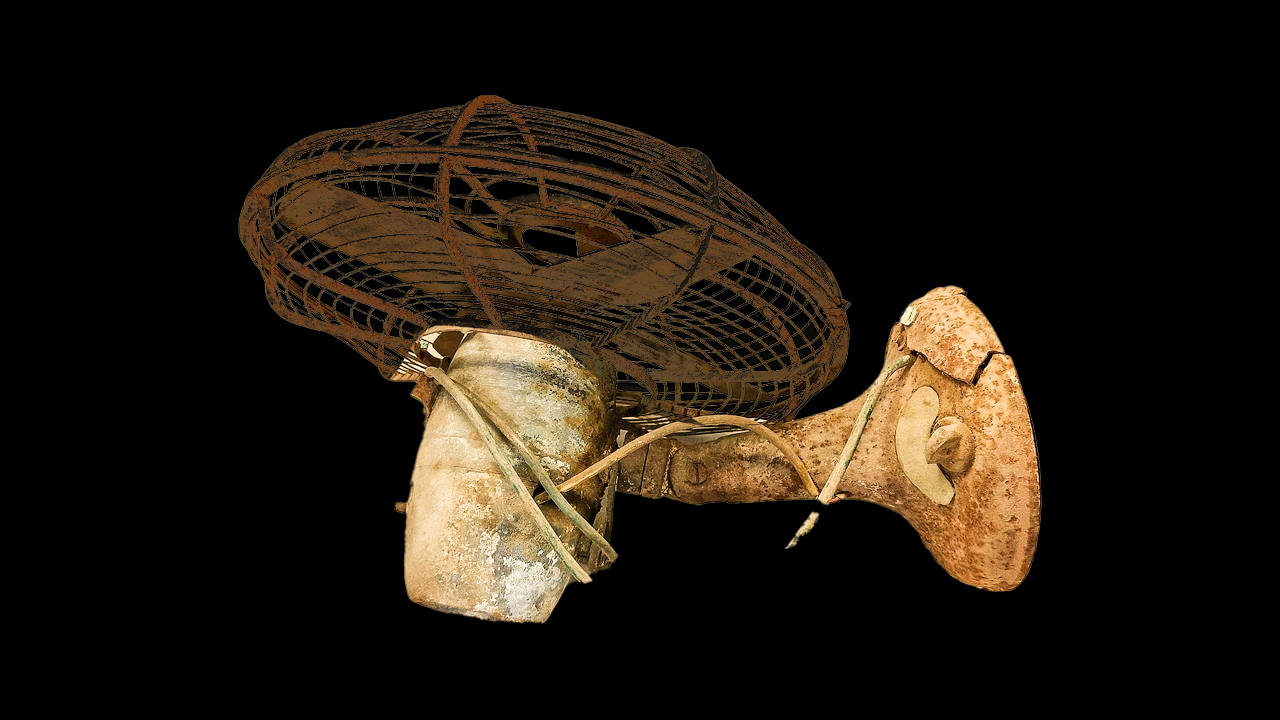
2. Disassembly:
- Remove Fan Blades and Guard: Use a screwdriver to remove the fan guard and blades. Be careful with the screws and save them for reassembly.
- Remove Motor Housing: Take off the motor housing to expose the motor inside. Take pictures of how the wires are connected, as this will help with reassembly.
- Inspect Parts: Check for worn-out parts like the motor, wires, or capacitor. Identify if any parts need replacing.
3. Cleaning the Rusty Parts:
- Apply Penetrating Oil: Spray the rusty areas with WD-40 or another rust remover and let it sit for 15-30 minutes.
- Use a Wire Brush: Scrub the metal surfaces with a wire brush to remove loose rust and dirt.
- Sandpaper: Use fine-grit sandpaper (400-600 grit) to remove any remaining rust and smooth the surface. This is especially important for the fan blades and body.
4. Clean the Motor:
- Blow Out Dust: Use compressed air or a soft brush to remove dust and debris from the motor. Make sure not to damage delicate internal components.
- Check and Lubricate: Inspect the motor and apply a few drops of machine oil (3-IN-ONE Oil) to the bearings and moving parts to ensure smooth operation.
- Check Wiring: Examine the wiring for any signs of damage. Replace old or frayed wires to prevent electrical hazards.
5. Painting and Polishing:
- Primer and Paint (Optional): If the fan’s body is heavily rusted or scratched, apply a rust-inhibiting primer first. After it dries, paint the fan body with a metal spray paint in your preferred color (Rust-Oleum works well).
- Polish the Blades: If the fan blades are metal, use metal polish (such as Brasso or Flitz) to restore their shine. Polish them carefully using a soft cloth.
6. Replace or Clean Electrical Components:
- Inspect Capacitor: Replace the capacitor if the fan motor struggles to start. Vintage capacitors often degrade over time.
- Replace Power Cord: If the power cord is frayed or worn out, replace it with a new cord for safety. Match the voltage and wattage specifications of the old cord.
7. Reassemble the Fan:
- Reassemble the Motor and Housing: Once the motor is cleaned and lubricated, put the housing back together. Reconnect the wires according to your reference photos.
- Reattach the Blades and Guard: Attach the blades back onto the motor spindle, then screw the guard back into place.
8. Final Test:
- Test the Fan: Plug in the fan and test its operation. Ensure the motor runs smoothly and the fan rotates without wobbling.
- Adjustments: If needed, adjust the motor alignment or re-oil any parts to ensure smooth movement.
9. Optional Finish – Apply Wax:
- Protective Finish: If you want to give the metal parts a final protective layer, apply a coat of wax or a clear protective lacquer to prevent future rusting.
Tools and Materials for Purchase (US Suppliers):
- Penetrating Oil: WD-40 or PB Blaster (available at Home Depot, Lowe’s)
- Metal Polish: Brasso or Flitz Metal Polish
- Rust-Inhibiting Primer: Rust-Oleum Rusty Metal Primer
- Machine Oil: 3-IN-ONE Oil
- Spray Paint: Rust-Oleum Spray Paint
- Replacement Capacitor and Wires: Available at local hardware stores or online at Amazon and Grainger.