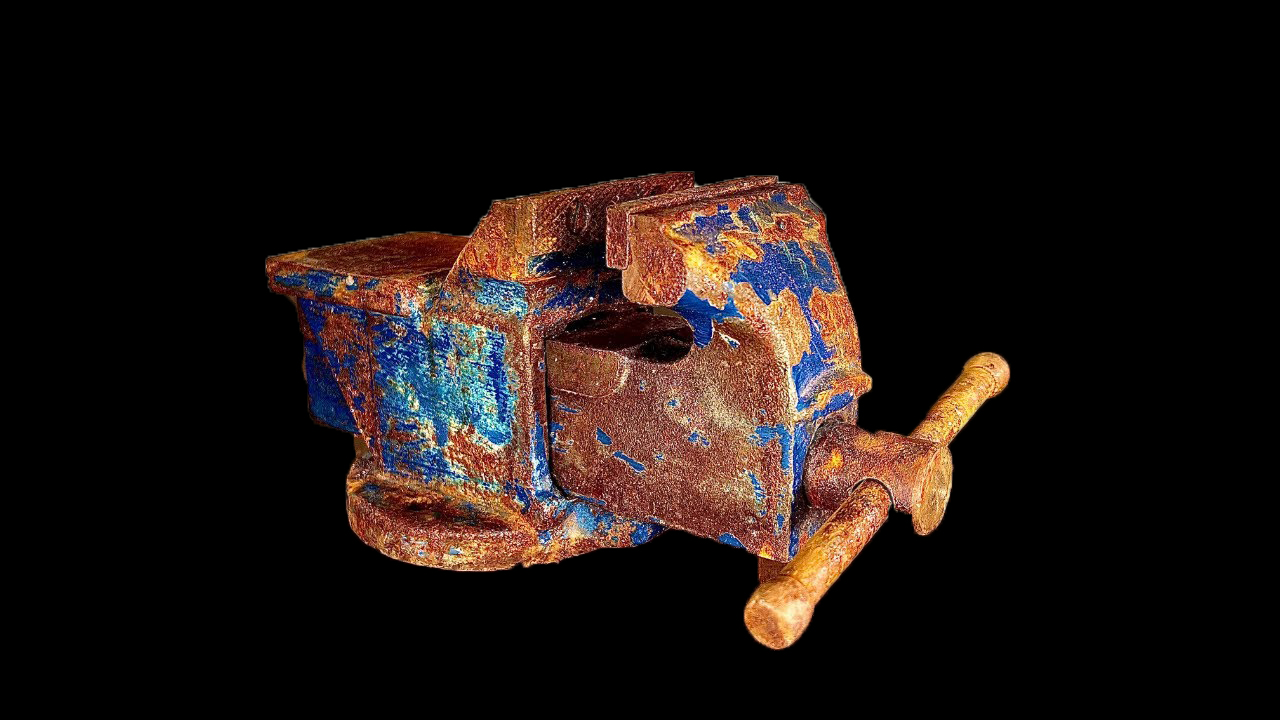
Step-by-Step Guide for Restoring a Rusty Old Vise:
1. Safety Precautions:
- Safety Gear: Wear protective gloves, goggles, and a mask to protect against rust, dust, and chemicals.
2. Disassembly:
- Remove Jaws: Use the appropriate wrenches or screwdrivers to disassemble the jaws from the vise. This will help you access all areas for cleaning and restoration.
- Remove Moving Parts: If your vise has a handle or rotating mechanism, disassemble these parts as well to make the cleaning process easier.
- Take Photos: Take pictures of how the parts fit together, as this will help during reassembly.
3. Removing Rust:
- Apply Penetrating Oil: Spray rusted areas with WD-40 or PB Blaster and let it soak for 15-30 minutes to loosen the rust.
- Wire Brush: Scrub the vise with a wire brush to remove loose rust. You can use a drill attachment with a wire brush for deeper rust or tough spots.
- Vinegar Soak (Optional): For extremely rusted parts, soak them in white vinegar for 24-48 hours. This will dissolve rust and make it easier to remove.
- Scrub with Steel Wool or Sandpaper: After soaking or wire brushing, use fine steel wool or sandpaper (400-600 grit) to clean off any remaining rust.
4. Cleaning the Vise:
- Degreaser: Clean the entire vise using a degreaser (such as Simple Green or Super Clean) to remove grease, oil, and rust particles. A soft brush or toothbrush will help with detailed areas.
- Rinse and Dry: Rinse the parts thoroughly with water and dry them completely using a lint-free cloth or air compressor to prevent further rust.
5. Sanding and Smoothing:
- Sand the Metal: If the vise has scratches, rough patches, or deeper rust spots, use fine-grit sandpaper to smooth the surface. Focus on the jaws and any moving parts to ensure a smooth operation.
- Polish (Optional): If you want to restore some shine, use metal polish (such as Brasso or Flitz) on the smoother parts of the vise.
6. Painting and Rust Protection:
- Rust-Inhibiting Primer: Apply a coat of rust-inhibiting primer (such as Rust-Oleum Rusty Metal Primer) to the body of the vise. This will help protect the metal from future rusting.
- Paint the Vise: After the primer dries, apply a coat of spray paint in a color of your choice. Use metal-friendly paint like Rust-Oleum Spray Paint for a durable finish.
- Optional Clear Coat: Apply a clear protective enamel coat (such as Rust-Oleum Clear Enamel) to add extra protection against rust and wear.
7. Lubrication and Maintenance:
- Lubricate Moving Parts: Apply lubricating oil (such as 3-IN-ONE Oil or silicone-based lubricant) to the handle, screw mechanism, and other moving parts. This will ensure the vise moves smoothly and doesn’t seize up.
- Check the Jaws: If the jaws are worn or damaged, consider replacing them. If they are in good condition, clean them thoroughly and reattach them to the vise.
8. Reassembly:
- Reassemble the Vise: Use the photos you took during disassembly to put the vise back together. Ensure all parts are tightened properly, and the moving mechanisms operate smoothly.
- Final Inspection: Check that the vise opens and closes without resistance. Ensure that the jaws align properly and that the vise operates as it should.
9. Final Touch:
- Test: Secure the vise to a workbench and test it with different materials to ensure it’s working smoothly.
- Optional Finish: For added rust protection, apply a light coating of paste wax or a rust preventive product like Boeshield T-9.
Tools and Products for Purchase (US Suppliers):
- Penetrating Oil: WD-40 or PB Blaster (available at Home Depot, Lowe’s)
- Degreaser: Simple Green or Super Clean
- Wire Brush: Drill wire brush attachments (available at Amazon or Harbor Freight Tools)
- Vinegar: White vinegar (available at grocery stores)
- Rust-Inhibiting Primer: Rust-Oleum Rusty Metal Primer
- Metal Spray Paint: Rust-Oleum Spray Paint
- Lubricating Oil: 3-IN-ONE Oil